
Jose Avila
Sofware engineer Published at: 2023-11-12simple real time chat with the sockets.io library
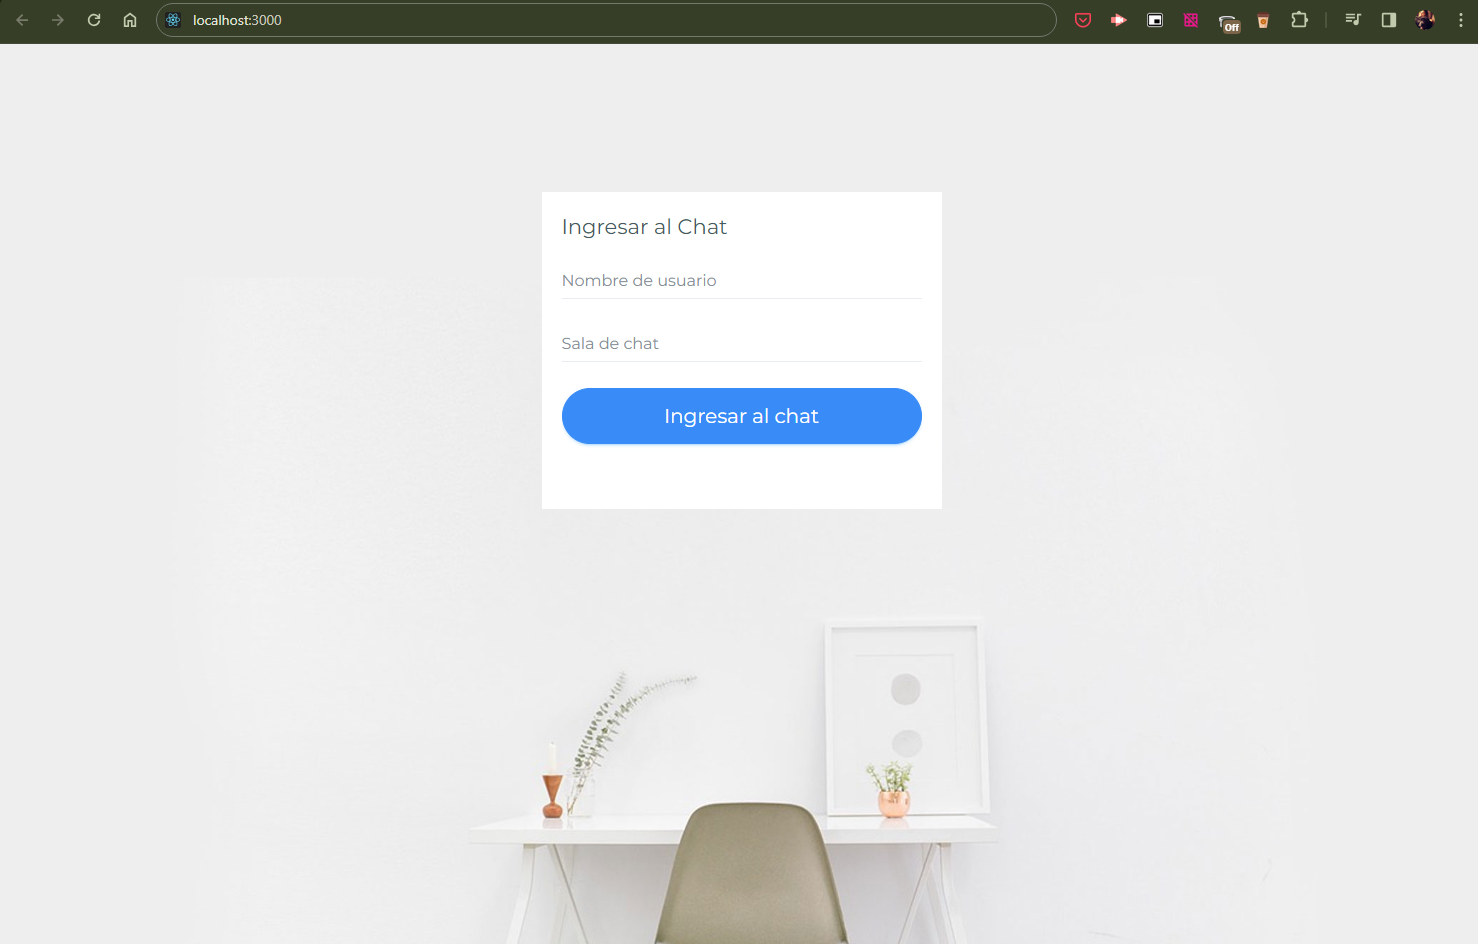
This time I decided to create a chat in real time using nodeJS and socket.io, here you can create an user and a room a chat with another users, let’s do it!
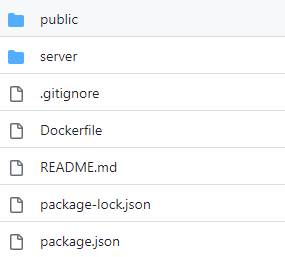
The Structure
I’m always like to start with how to organize in favor of the project the folders and files, because every project has different needs and dynamics, however in this one we use the basic scafolding for every nodejs project.
in the public folder we have all the files necessary to build the view for the users.
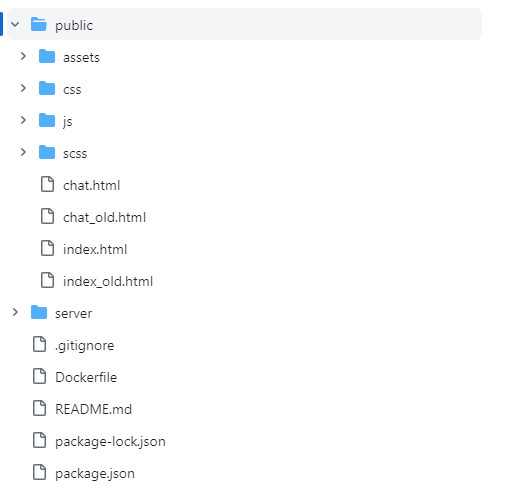
We use bootstrap to styling fast without care to much in the design if you want to check it out the code complete can view it here, however our real focus is…
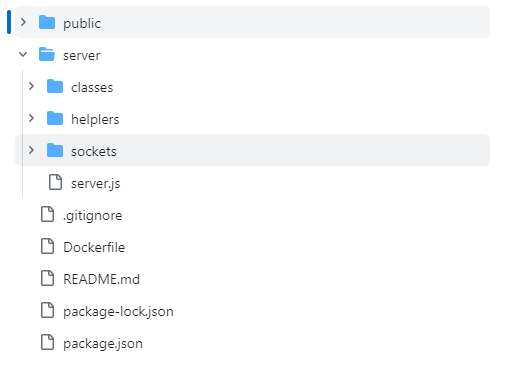
The Server Folder
this folder are hosted all the logic and services to make the chat works properly.
The Main app.js file
In this file keeps al the routes and middlewares necessary to have our api working. We’re going to go step by step.
1- Import necessary modules: express for the web server, path for handling file and directory paths, socket.io for real-time communication, and http to create the HTTP server.
const express = require('express')
const path = require('path')
const socketIO = require('socket.io')
const http = require('http')
2- Create an Express application and an HTTP server using the Express application.
const app = express()
const server = http.createServer(app)
3- Define the path to the public directory where static files are served and the port on which the server will listen. If the PORT environment variable is not set, it defaults to 3000.
const publicPath = path.resolve(__dirname, '../public')
const port = process.env.PORT || 3000
4- Use the Express static middleware to serve files from the public directory.
app.use(express.static(publicPath))5- Initialize Socket.IO to enable real-time communication on the server. The io object is exported for use in other modules.
module.exports.io = socketIO(server)6- Initialize Socket.IO to enable real-time communication on the server. The io object is exported for use in other modules.
require('./sockets/socket')7- Start the server listening on the specified port. If there’s an error, it’s thrown; otherwise, a success message is logged to the console.
server.listen(port, err => {
  if (err) throw new Error(err)
  console.log(`Servidor corriendo en puerto ${port}`)
})
This script is the entry point for a real-time chat application. The server serves static files (like HTML, CSS, and client-side JavaScript) from the public directory, and it uses Socket.IO to handle real-time chat messages.
The Users Class
create an folder called “classes” inside this create the user.js file. Next create the class Users his class handles all the logic behind th users, creating, assigning chat room etc…
-
constructor(): Initializes an empty array of users when a new instance of the class is created.
-
addPerson(id, name, room): Adds a new person to the users array. The person is represented as an object with properties id, name, and room. It returns the updated users array.
-
getPerson(id): Returns the first person object from the users array that matches the provided id.
-
getAllUsers(): Returns the entire users array.
-
getRoomUsers(room): Returns an array of all users in a specific room.
-
removeUser(id): Removes a user with a specific id from the users array and returns the removed user.
Finally, the Users class is exported for use in other modules.
here’s the code
class Users {
	constructor() {
		this.users = []
	}

	addPerson(id, name, room) {
		let person = { id, name, room }
		this.users.push(person)
		return this.users
	}

	getPerson(id) {
		let person = this.users.filter(user => id === user.id)[0]
		return person
	}

	getAllUsers() {
		return this.users
	}

	getRoomUsers(room) {
		let roomUsers = this.users.filter(user => user.room === room)
		return roomUsers
	}

	removeUser(id) {
		let deletedUser = this.getPerson(id)
		this.users = this.users.filter(user => id !== user.id)
		return deletedUser
	}
}

module.exports = {
	Users,
}
now move on to the…
Helpers folder
Create the utils folder insides server folder contains all the re-usable code like: formatters, building predictable data structures, etc… In this case we gonna create an file called utils.js that contains an function to create and format a message in the chat.
The code:
const createMessage = (name, message) => {
	return {
		name,
		message,
		date: new Date().getTime(),
	}
}

module.exports = {
	createMessage,
}
The sockets functionality
-
It imports necessary modules and creates a new instance of the Users class.
-
It sets up a listener for a new client connection (io.on(‘connection’, client => {…})).
-
Inside this listener, it sets up several event listeners for different types of client events:
- userEnter: Triggered when a user enters a chat room. It adds the user to the room and broadcasts a message to all users in the room.
- disconnect: Triggered when a user disconnects. It removes the user from the room and broadcasts a message to all users in the room.
- filteredList: Triggered when a filtered list of users is requested. It returns a list of users filtered by room and name.
- createMessage: Triggered when a user sends a message. It broadcasts the message to all users in the room.
- privateMessage: Triggered when a user sends a private message. It sends the message to a specific user.
const { io } = require('../server')
const { Users } = require('../classes/users')
const { createMessage } = require('../helpers/utils')

const users = new Users()

io.on('connection', client => {
	client.on('userEnter', (data, callback) => {
		// console.log(data)
		if (!data.name || !data.room) {
			return callback({ error: true, message: 'el nombre/sala es requerido' })
		}

		// this is to put the user into the room
		client.join(data.room)

		let AllUsers = users.addPerson(client.id, data.name, data.room)
		const usersRoom = users.getRoomUsers(data.room)
		client.broadcast.to(data.room).emit('usersList', usersRoom)
		client.broadcast
			.to(data.room)
			.emit(
				'createMessage',
				createMessage('admin', ` 🔌  ${data.name} entró a la sala`)
			)
		callback(usersRoom)
		console.log(`🖥 ${data.name} connected `)
	})

	client.on('disconnect', () => {
		const userDeleted = users.removeUser(client ? client.id : { name: 'user' })
		console.log('fails at this point', userDeleted)

		client.broadcast
			.to(userDeleted.room)
			.emit(
				'createMessage',
				createMessage('admin', ` 🔌  ${userDeleted.name} ha salido de la sala`)
			)
		client.broadcast
			.to(userDeleted.room)
			.emit('usersList', users.getRoomUsers(userDeleted.room))
	})

	client.on('filteredList', (data, callback) => {
		var list = users.getRoomUsers(data.room)
		let usersFiltered = list.filter(
			u => u.room === u.room && u.name === data.name
		)
		let allUsers = users.getAllUsers()
		callback(data.name !== '' ? usersFiltered : allUsers)
	})

	// create chat messages
	client.on('createMessage', (data, callback) => {
		const person = users.getPerson(client.id)
		const message = createMessage(person.name, data.message)
		client.broadcast.to(person.room).emit('createMessage', message)
		callback(message)
	})

	// private message
	client.on('privateMessage', data => {
		const person = users.getPerson(client.id)
		client.broadcast
			.to(data.for)
			.emit('privateMessage', createMessage(person.name, data.message))
	})
})
the server.js file
lastly this is a Node.js server setup using Express.js and Socket.IO. Here’s a step-by-step explanation:
-
const express = require(‘express’): This line imports the Express.js module, a web application framework for Node.js.
-
const path = require(‘path’): This line imports the path module, which provides utilities for working with file and directory paths.
-
const socketIO = require(‘socket.io’): This line imports the Socket.IO module, a library for real-time web applications. It enables real-time, bidirectional and event-based communication between the browser and the server.
-
const http = require(‘http’): This line imports the http module to create an HTTP server.
-
const app = express(): This line creates a new Express application.
-
const server = http.createServer(app): This line creates an HTTP server that uses the Express application.
-
const publicPath = path.resolve(__dirname, ‘../public’): This line sets the path to the public directory where static files are served.
-
const port = process.env.PORT || 3000: This line sets the port for the server to listen on. It will use the PORT environment variable if it’s set, otherwise it will default to 3000.
-
app.use(express.static(publicPath)): This line tells Express to serve static files from the public directory.
-
module.exports.io = socketIO(server): This line initializes a new Socket.IO instance attached to the HTTP server and exports it for use in other modules.
-
require(‘./sockets/socket’): This line imports the socket module, which presumably contains the Socket.IO event handlers.
-
server.listen(port, err => {…}): This line starts the server listening on the specified port. If there’s an error, it will be thrown, otherwise a message will be logged to the console indicating the server is running.
this is the corresponding code:
const express = require('express')
const path = require('path')
const socketIO = require('socket.io')
const http = require('http')

const app = express()
const server = http.createServer(app)

const publicPath = path.resolve(__dirname, '../public')
const port = process.env.PORT || 3000
app.use(express.static(publicPath))

// IO = es la comunicacion del backend
module.exports.io = socketIO(server)
require('./sockets/socket')

server.listen(port, err => {
	if (err) throw new Error(err)

	console.log(`Servidor corriendo en puerto ${port}`)
})
with this you can run the server using npm start and the server is gonna be running on the port 3000
can check the project running on this link o the repo here